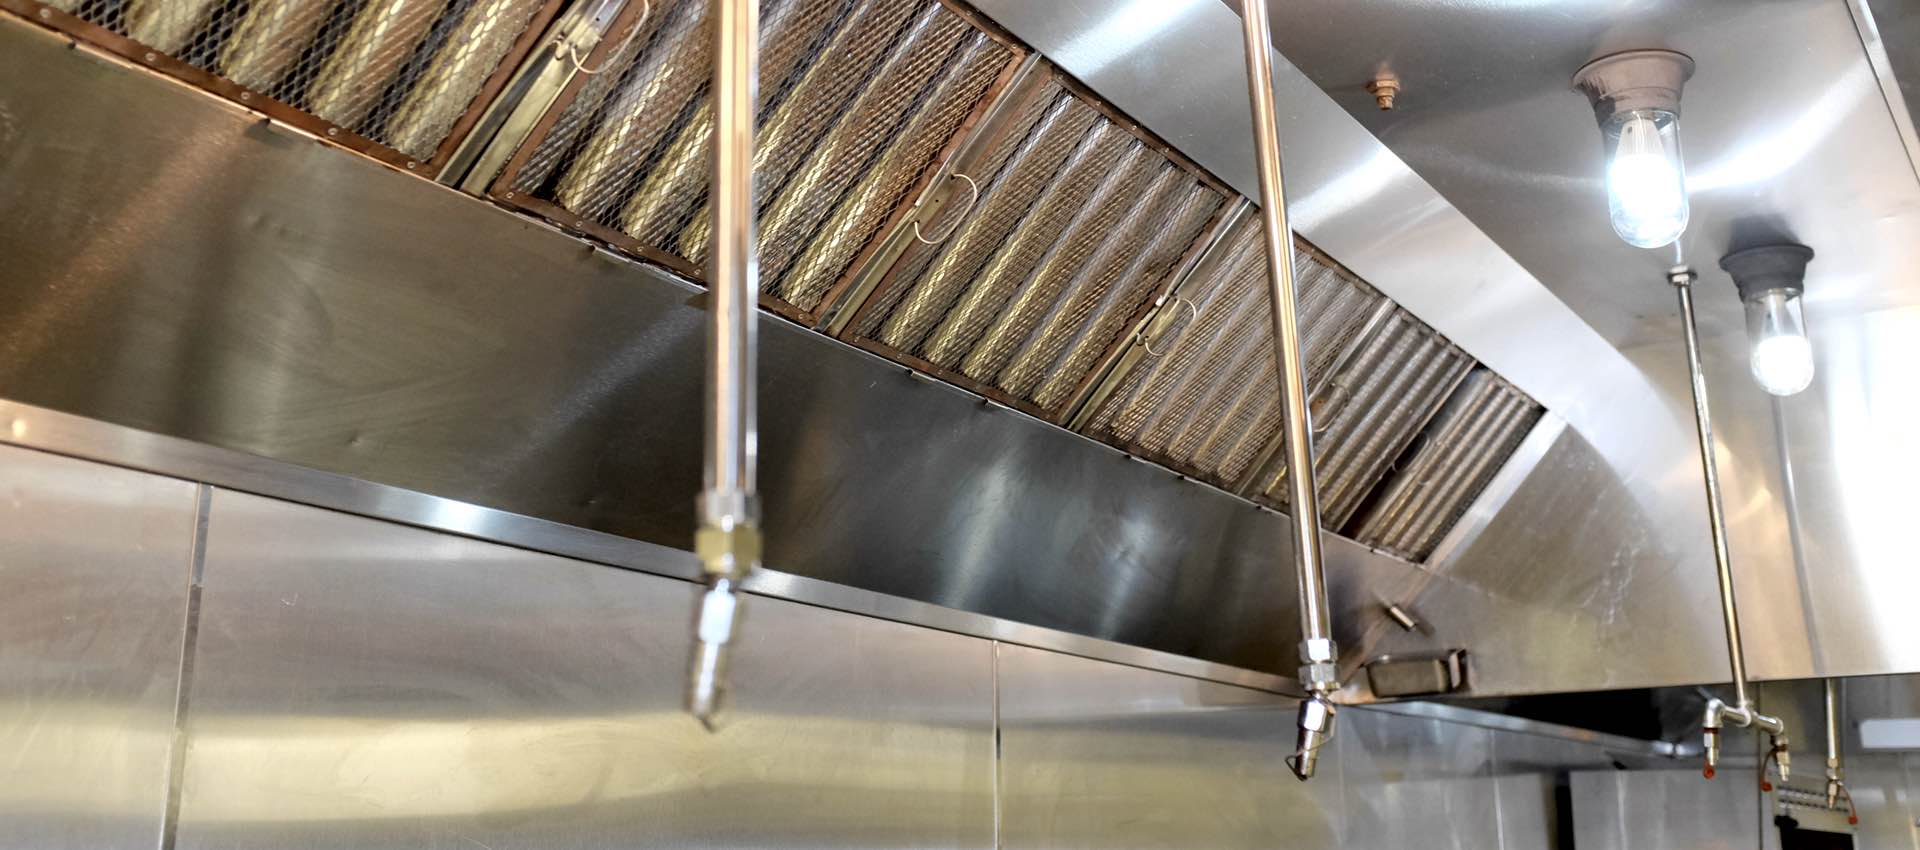
As an operator of a commercial kitchen, being aware of how often to clean extractor components is vital. Without regular cleaning, the system will fail to work properly, building up grease, contaminating the kitchen, and creating unclean air.
There are five essential components to a kitchen extractor system:
- Extractor hoods
- Hood filters
- Extractor fans
- Exhaust ducts
- Rooftop containment systems
When cared for properly, these components work together to form a seamless system that keeps a commercial kitchen operating at full capacity.
Extractor hoods: The extractor hood (also known as the exhaust hood or range hood) is the chimney-like device that hangs over a stovetop. Within the extractor hood, a fan works to remove airborne particles of grease, odors, smells, and steam/smoke. A grease trap also removes grease buildup.
Hood filters: A hood filter is the first piece of machinery within an extractor hood. This is the filter that captures airborne particles within your kitchen. Without this, airborne particles will simply go back to floating around the kitchen and clogging the air.
Extractor fans: Extractor fans are most commonly located within the hood, however not always. Extractor fans remove the old, contaminated air from the kitchen and push it through vents until the air can escape outside. Less fumes and airborne grease means a cleaner kitchen, as well as less smells and damaging residue. Extractor fans also allow proper ventilation, which can lower the temperatures in your kitchen and reduce the risk of fire.
Exhaust ducts: Exhaust ducts (or grease ducts) take the grease, vapors, fumes, and any other contaminated particles directly outside. After the extractor fan and hood filter grab up the particles, the particles flow through a metal duct and are expelled into the air, often on the rooftop.
Rooftop containment system: Grease can severely damage rooftop, cause leaks and fire hazards (just to name a few), making a rooftop containment system imperative to the safety of your building. Rooftop containment systems contain the grease runoff and grease traps, meaning that they must be emptied out regularly to prevent overflowing. Make sure the system is waterproof as well since any rain getting into the system will cause flooding.
Different systems will require small changes in cleaning based on the product, but the basics are still the same. Follow these steps when cleaning your products, referring to the manual of each product for the specific details that are special to your machinery.
Note: Wipe down all the surfaces of the hood and keep grease free. Install filters and ducts correctly, and make sure all electrical connections are turned off when cleaning.
Daily Maintenance
- Remove hood filters and clean them by soaking in a sink or washing them in the dishwasher.
- Clean out the grease drain and grease collection cups/traps.
- Wipe down stainless steel surfaces carefully, to avoid any hard materials scratching the appliance.
- Wipe the hood surface down with a cloth that has been dipped in a detergent solution. We recommend a half cup of laundry detergent diluted with a gallon of water. Wipe down the extractor hood by going with the grain, and rinsing the cloth often.
- After that, use a clean warm cloth to remove the water-detergent solution, then wipe the hood with a dry cloth to remove any liquid. If your hood is equipped with a temperature sensor, check that.
Quarterly Maintenance
- Inspect your extractor hood for any gas or air leaks.
- Clean out the ductwork to prevent grease accumulation.
Hood Filters
Note: These are general cleaning instructions for all filters, but check your filters’ manual first as there are minor differences between solo filters, baffle filters, etc. You might have to separate various parts of the filters to clean them efficiently.
Daily Maintenance
- Remove the filters from the extractor hood. If you have baffle filters or filters that consist of two parts, now is the time to separate those parts according to the directions of the manufacturer.
- Soak filters overnight in a grease-cutting detergent, if needed.
- Wash filters in a washware using grease cutting detergent. If you do not have access to a washware, use a hand sprayer to thoroughly spray down the filters.
- Check filters for any missed residue and see if it is necessary run the filters through the washware again.
- Inspect the filters for any defects. Captrate recommends holding its filters up to the light to see if any light can be seen through the filter. If there is, it is time to replace the filter.
- Dry filters and place them back in the hood.
It’s important to remember that baffle filters don’t last forever and need to be replaced when they are damaged or too worn out to effectively do their job.
Note: Always cut the power to your fan before doing anything.
- Check the belt tension every two weeks or so after starting the fan for the first time. At the beginning of the use, belts can stretch a fair amount in the first two weeks.
- Make sure the fan isn’t making any odd noises or has any failing equipment. Try to catch any problems as quickly as possible. This means checking the parts of the fan fairly often to ensure that they aren’t breaking after only a little bit of use.
Every 2-3 Months
- Check the bearings and make sure they are lubricated. Make sure to use the APPROPRIATE amount of grease to lubricate the bearings as too much grease or too little grease can have negative effects on the bearings.
- Check the tightness of the fasteners regularly.
- Check the belt tension every three months to ensure the proper tension is being used.
- Clean the fans:
- Turn the power to the fan off completely by flipping the circuit switch or removing the plug from the wall completely.
- Unbolt the fan or if it has a hinge kit raise it and leave it propped open.
- Detail the blades of the extractor fan with a grease-cutting solution. Grease can accumulate on the blades and cause the extractor fan to become inoperative, so don’t let build ups happen.
- This is a good time to check and clean the exhaust duct. Refer to the next set of cleaning instructions after the periodic extractor fan maintenance to do so.
- Dry off the fan, and replace it.
- Detail the bowl of the fan.
Yearly Maintenance
- Examine bolts, grease and belt wear. Replace pieces as necessary.
- Check on the grease and cleanliness of the motor.
Exhaust Ducts
Quarterly Maintenance
- Make sure the ducts are air tight and fully sealed, and that all joint sealant is working correctly. Replace as needed.
- Check the external exhaust fan to make sure there is no clogging or grease that prevents the ducts to properly expel unclean air.
- Check the fan setting. It should be set on exhaust, not circulate.
- Make sure that the duct drains are draining properly and in the correct area. Also make sure that the grease manifold tee is cleaned out.
- Make sure that there is no grease build up in any location that isn’t an indicated grease storing area. You want to avoid any possibility of a grease fire.
Rooftop Containment Systems
Monthly Maintenance
- Dispose of the contained grease in the legal, approved way. After you have done so, examine the grease container for any leaks it might have.
- Look at the filters! Clean them and change as needed. Do the same with any grease absorbent pads that you might use.
Quarterly Maintenance
- Examine the rooftop containment system in detail. Make sure there are no broken, missing, or dysfunctional parts.
- Look at the roof. There might be a damaged part to the machine that you cannot see, but the evidence of a grease leak will be on the roof.
- Clean out the exhaust stacks.
Your kitchen extractor system is the backbone of any kitchen cleanliness. Make sure to give it the proper maintenance and cleaning to ensure long use in the future. Need help? Contact a vent hood cleaning provider like Halo for guidance.


